Complete Overview To Setting Up Steel Roof: Diy Actions And Tips

Gable Trim
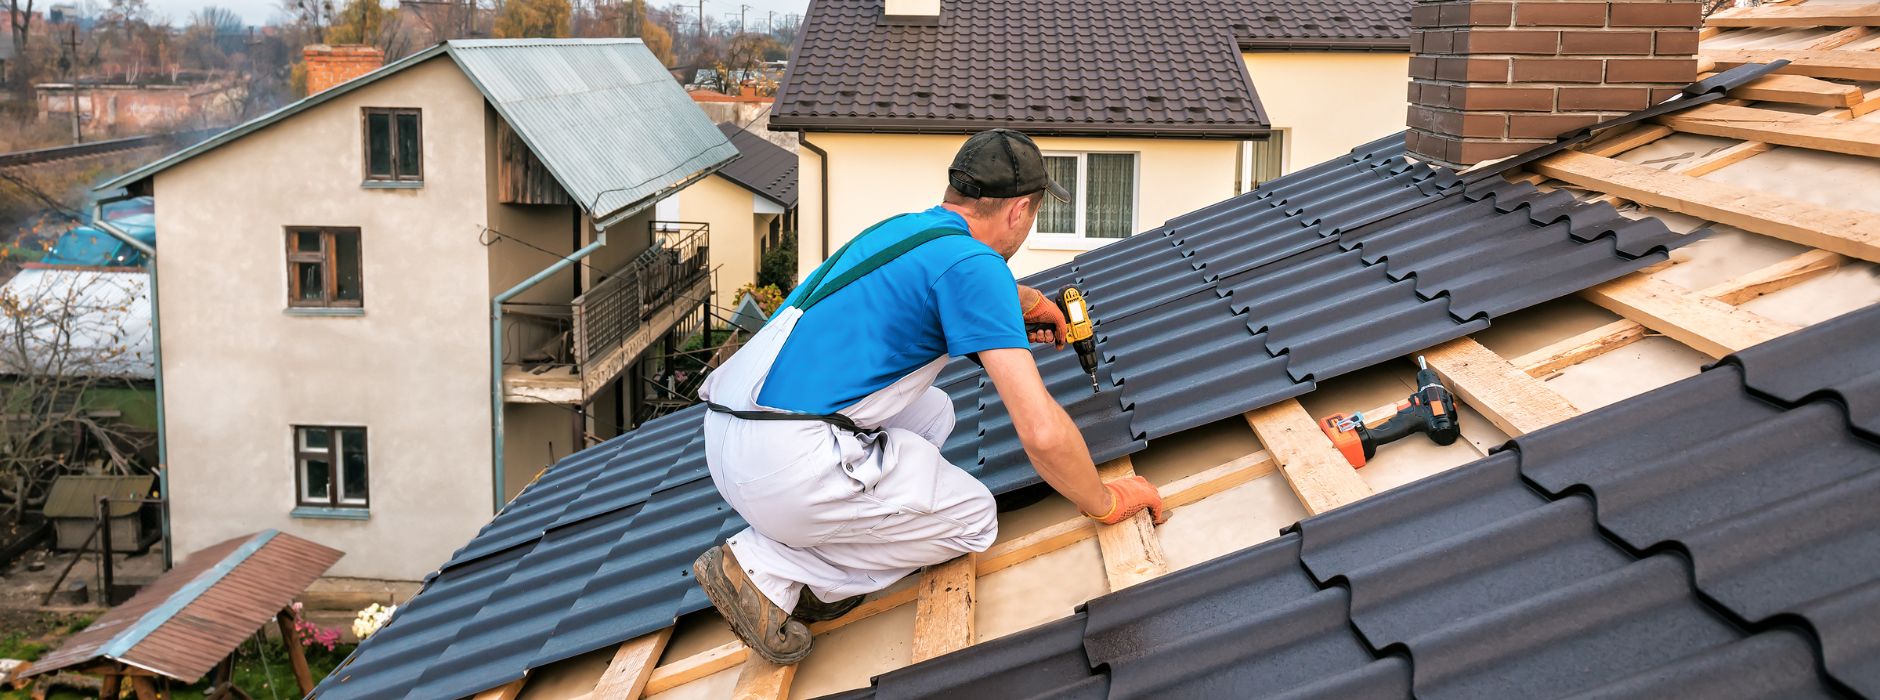
Don't stress if you don't own all of the devices needed to finish this DIY task. In addition to understanding the square video, you'll require to understand the size of each area from the ridge to the outer side of the eave. By staying clear of these typical mistakes and adhering to the advised actions, you can make sure a successful and resilient metal roof covering installment. Bear in mind, making the effort to do points right the first time will certainly save you time and money over time. This step works because it straight battles prospective leaks at the roofing's highest https://writeablog.net/umquestpup/diy-roof-covering-setup-an-extensive-detailed-guide possible and most vulnerable point. By effectively safeguarding the ridge caps, you ensure that water does not permeate the roofing system's optimal, thus expanding the lifespan of your entire roofing system.
Step 1: Gauge The Roofing System Area
Moving forward, the next actions will guide you through the actual installment procedure. Corrugated roof covering is an excellent way to top a garden shed, shop, or outdoor patio. It's quick, easy, affordable, and, best of all, you can do it yourself. All it takes is some typical tools and a little math, which is where we come in.
- As soon as the old material is gotten rid of, or if you're installing directly over the old roofing, the following action is to prepare the roof covering deck.Before mounting a steel roof, you need to mount roofing underlayment.Dragging one sheet's edge throughout one more when dumping might create scratching of the sheet listed below, so see to it the sheet is lifted clear and not dragged.We supply metal galvanised roof sheets to the commercial, industrial, domestic, and farming markets.
Protect The Panels With Bolts
For angled cuts, such as those required for hips and valleys, utilize a theme made from cardboard or an additional product. Trace the https://ameblo.jp/knoxpnrv170/entry-12901781468.html preferred angle on the design template and move it to the corrugated steel. Straighten the theme's side with a corrugated ridge and mark the cut line with a noting tool. Cut along the marked line using a round saw or shears, making sure precision and a tidy surface. This not only includes a finishing touch to your roofing project but additionally extends the life of your roof. The paint or layer provides added protection against UV rays, rust, and weathering.